
This post contains affiliate links. If you buy through them, Food by the Fire may earn a small commission at no extra cost to you.

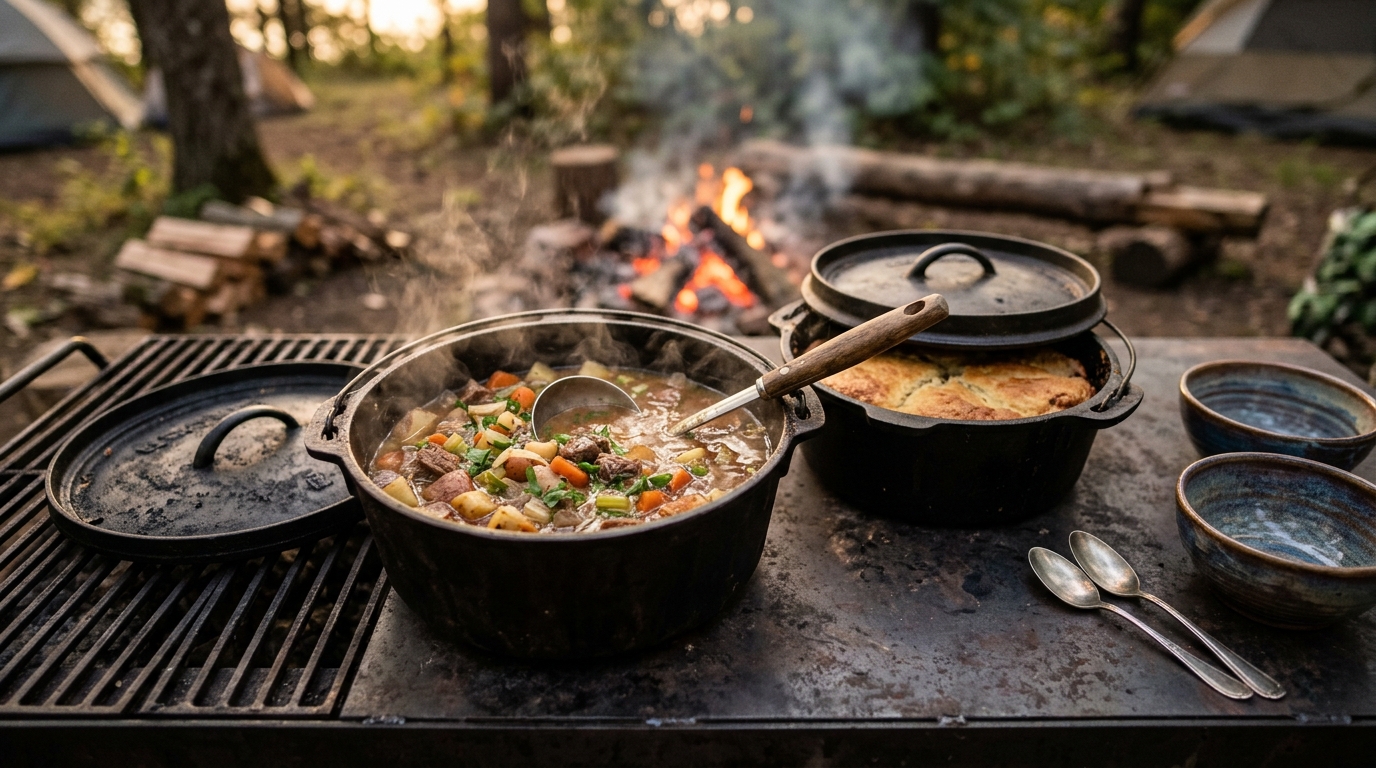
Every campfire cook remembers the first time they lifted a Dutch oven lid loaded with coals and saw something golden underneath. Biscuits, a cobbler, a stew that had been murmuring for two hours. That’s when a heavy black pot stops being camp gear and becomes the center of the fire.
The Dutch oven has been feeding people over open fires for a few hundred years. The basics haven’t changed: a thick cast iron pot, a tight lid, and coals above and below to turn it into an oven anywhere you can build a fire.
This guide covers what to buy, how to count coals, how to control heat, and how to care for the pot so it lasts long enough to hand down.
At a Glance
- Best first oven: 12-inch, 6-quart camp Dutch oven with legs and a flanged lid
- Feeds: 6–8 people
- Coal rule: Double the diameter for total briquettes at about 350°F (12-inch = 24 briquettes)
- Baking split: About two-thirds on the lid, one-third underneath
- Heat source: Charcoal briquettes or hardwood coals, on bare dirt, gravel or stone in a fire ring, or on a steel cooking table
- Difficulty: Beginner friendly
Gear & Tools
A Dutch oven cook is mostly heat management. You light coals, place them, move them, refresh them, and lift a lid that’s heavy and loaded with fire. The pot does the cooking. The tools make that heat handling safe and repeatable.
If you’re buying from scratch, get them in this order: camp Dutch oven, chimney starter, accessories kit (lid lifter, gloves, tongs), then a cooking table when you’re ready.
Must-Have
- 12-Inch Camp Dutch Oven (6 qt)
What to look for: Three short legs, a flat flanged lid with a raised rim that holds coals, and a sturdy wire bail handle.
Why it matters here: The legs hold the pot above the bottom coals so they keep breathing. The flanged lid keeps top coals from sliding off and keeps ash out of the food. A 12-inch, 6-quart oven fits most recipes and is easy to find coal charts for.
Care note: Dry it on low heat after washing, then wipe on a thin coat of oil before storing. - Charcoal Chimney Starter
What to look for: A full-size chimney with a heat shield on the handle.
Why it matters here: Briquettes give you predictable, countable heat, which is what makes the coal rule work. A chimney gets them all lit evenly in 15–20 minutes without lighter fluid.
Safety note: Set a lit chimney on stone or bare dirt, never on wood or grass. - 5-in-1 Dutch Oven Accessories Kit
What to look for: A lid lifter that locks onto the lid handle, plus long tongs, a lid stand and heat-resistant gloves.
Why it matters here: A lid lifter lets you raise a coal-loaded lid straight up and level, so ash stays out of the food. The stand gives the hot lid somewhere safe to sit while you stir, and the tongs place every coal. - Heat-Resistant Gloves
What to look for: Long cuffs that cover your forearms, in leather or aramid.
Why it matters here: You’ll grab a hot bail handle, rotate a pot that weighs 15 pounds or more, and reach over a bed of coals. A second pair alongside the kit’s gloves is worth having.
Safety note: Keep them dry. A damp glove turns heat into steam fast.
Nice-to-Have
- Dutch Oven Cooking Table
What to look for: An all-steel top with a windscreen, at a comfortable working height.
Why it matters here: It keeps coals off the ground and out of the wind, and saves your back on long cooks. - Dutch Oven Parchment Liners
What to look for: Liners sized to your oven (12-inch).
Why it matters here: Cobblers, cakes and biscuits stick and scorch. A liner makes cleanup a two-minute job. - Folding Camp Shovel
What to look for: A sturdy steel blade and a locking hinge.
Why it matters here: When you cook with hardwood coals instead of briquettes, a shovel scoops even portions onto the lid and under the pot. - Instant-Read Meat Thermometer
What to look for: A thin probe and a reading in a few seconds.
Why it matters here: Roasts and stews are done by temperature, not time. A thermometer takes the guessing out of the pot.
Choosing a Dutch Oven
- Camp (cast iron, with legs and a flanged lid): Built for coals. This is the one for open-fire cooking and every recipe on this site.
- Flat-bottom cast iron: Great on a grate or a stovetop. It needs a trivet or lid stand to sit over coals, and its domed lid won’t hold coals well.
- Enameled cast iron: Beautiful for indoor braising and easy to clean, but direct coals can crack the enamel. Keep it in the kitchen.
- Aluminum camp ovens: Much lighter for backpacking or paddling. They heat and cool fast, so they need closer attention and more frequent coal checks.

Fire & Coal Setup
Light the coals. Fill a charcoal chimney and light it. In 15–20 minutes, the top briquettes will be edged in gray ash and ready.
Pick a safe spot. Coals and a hot oven go on bare dirt, gravel or stone inside a fire ring, in a metal fire pan, or on a steel cooking table. Never put them on wood, grass or a picnic table.
Rule of thumb: double the oven’s diameter to get the total number of briquettes for about 350°F. A 12-inch oven takes 24 briquettes. Then split them by what you’re cooking:
- Baking (biscuits, cobblers, breads): two-thirds on the lid, one-third underneath. For a 12-inch oven, that’s 16 on top and 8 below.
- Simmering and braising (stews, chili, pot roast): about half and half, so 12 on top and 12 below.
- Frying and boiling: all coals underneath, lid off.
Other sizes: a 10-inch oven takes about 20 briquettes (14 top, 6 bottom for baking), and a 14-inch takes about 28 (19 top, 9 bottom).
Adjusting heat: add or remove about 2 briquettes, one on top and one below, for each 25°F. Wind, cold and direct sun all change things, so check your food early the first few times.
Step-by-Step: Your First Dutch Oven Cook
- Check the seasoning. The inside should look black and smooth, not dull or rusty. If it’s dry, wipe on a thin coat of oil before you load it.
- Light more coals than you need. Light the 24 you’ll use plus a dozen extra in the chimney or at the edge of the fire to refresh with later.
- Place the bottom coals. With tongs, set the bottom coals in a ring about the size of the pot, 1/2 inch inside its edge. Coals bunched in the center make a hot spot that burns food.
- Load and set the oven. Add your food, or a parchment liner and then the batter. Set the oven level on its legs over the ring.
- Place the top coals. Lay the lid coals in a checkerboard pattern across the lid, with a few around the rim.
- Rotate every 15 minutes. Lift the oven by the bail and turn it a quarter turn clockwise. Then use the lid lifter to turn the lid a quarter turn counterclockwise. This evens out hot spots above and below.
- Peek carefully. Brush the ash off the lid first. Then lift it straight up and level with the lid lifter, and set it on the lid stand.
- Refresh the coals. Briquettes burn down in about 45–60 minutes. For longer cooks, swap in freshly lit coals from your spare batch.
- Finish and clean. Brush off the lid coals before you serve. While the oven is still warm, scrape it out and rinse with hot water. A drop of mild soap won’t hurt well-seasoned iron, but never soak it. Dry it over low heat, oil it lightly, and store it with the lid cracked open.

Campfire Tips & Troubleshooting
- Burned bottom, raw top: Too many coals below. Move some to the lid, and spread the bottom ring out toward the edge.
- Nothing’s browning: Add a few coals to the lid, or put the lid on the fire for 5 minutes to preheat it before you start.
- Rust spots: Scrub with steel wool, wash, dry over heat, oil, and heat the oven upside down for an hour to re-season.
- Cold or windy day: Plan on a few extra coals, and use a windscreen or cooking table to block the wind.
- Stacking: On big cooks, you can stack a second oven on the first one’s lid coals and share the heat.
Variations: Three Ways to Use the Same Pot
- Bake: Biscuits, cobblers, dump cakes and breads. Use the two-thirds-on-top split and a parchment liner.
- Braise: Pot roast, stew and chili. Use an even split, a long cook, and refreshed coals.
- Fry: Breakfast hash, fried chicken and fritters. Put every coal underneath, and preheat the oil before the food goes in.
Pairings
- For breakfast: The “Mountain Man” Dutch Oven Breakfast Hash — An easy first cook that teaches bottom heat and frying in one pot.
- For dessert: After the Trick-or-Treat: Apple-Cinnamon Dutch Oven Dump Cake — The easiest way to practice the coals-on-the-lid baking split.
- Same technique: The Hunter’s Hearth: Deep Woods Dutch Oven Beef Stew — A long, low braise that puts coal refreshes and rotations to work.
- Coming up — Thanksgiving: 3 Traditional Midwest Thanksgiving Pies You Need to Try — Thanksgiving is a few weeks out. Here are three classic pies for the holiday table.
Gather Round the Fire
A Dutch oven doesn’t ask for much: some coals, a little patience, and a quarter turn now and then. Learn the coal rule, take good care of the iron, and that one pot will cook breakfast, supper and dessert at every fire you build for years.
Tell me in the comments what you’re cooking first, or what’s been giving you trouble. Share this with the friend who just bought their first camp oven, and follow along for more Dutch oven and open-fire recipes. Now go unleash your inner culinary Firestarter.
Leave a Reply